


Are you trying to make some changes to the styles of your website?
You figured out it's the CSS you need to change, but how do you go about making those changes in WordPress?
This post will show you how to edit CSS in WordPress using three different methods.
So, let's get straight to it.
How to Edit CSS in WordPress Using a Plugin
If you're a complete beginner, this will be the easiest method for you.
It involves the use of plugins, saving you from needing to open files full of code.
CSS Hero: Best For Beginners
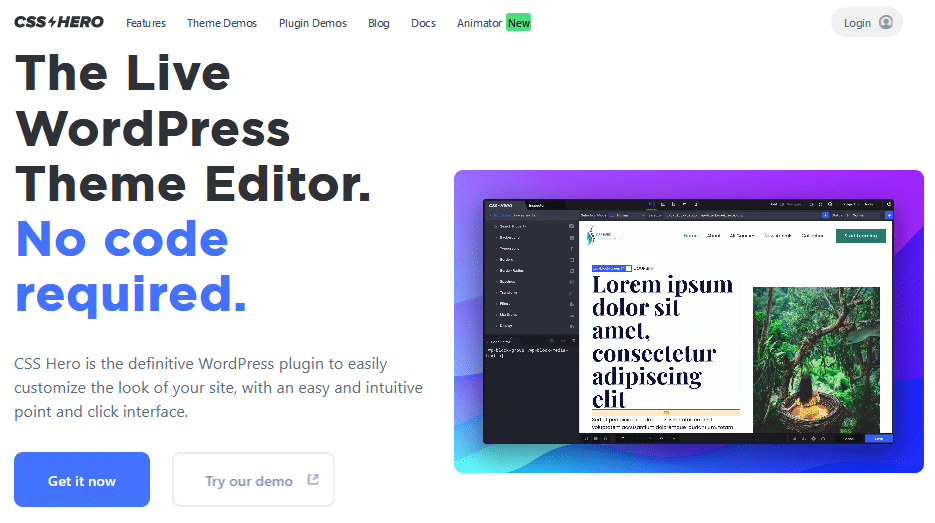
CSS hero is by far the easiest option to edit CSS because it works similarly to a drag-and-drop page builder.
The only difference is you click on an element you want to edit and then use an options panel to make changes.
Simple.
Here's how it works.
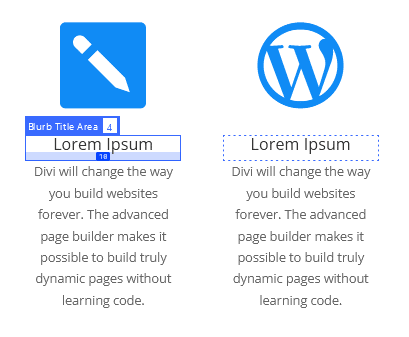
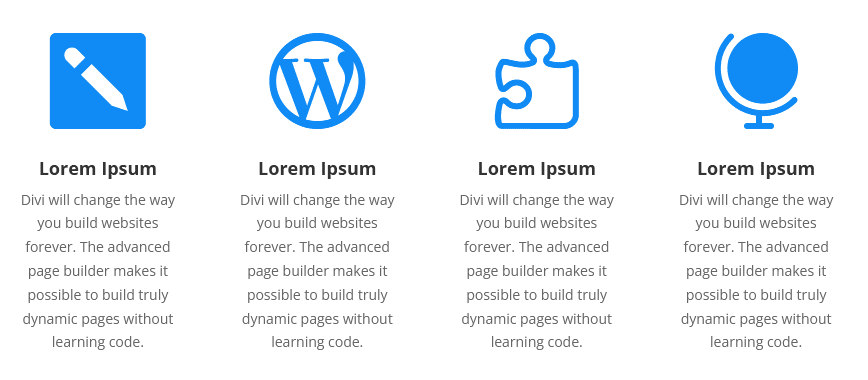
Let's say you have some sections on your WordPress site, and you want to make the heading text bold:
When you hover over the text, it highlights it and displays its CSS class. All you have to do is click it so you can edit it in the settings:
Then, from the settings panel, select the Typography option:
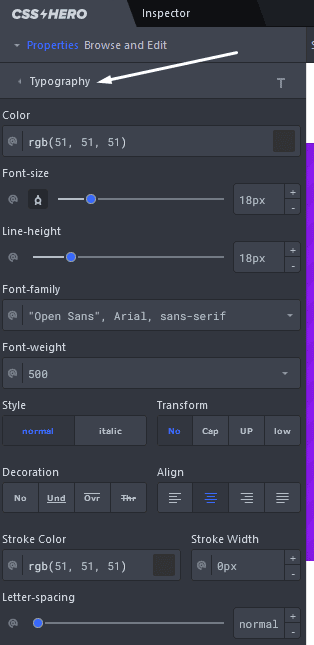
Where it says font-weight, choose 700 from the drop-down:
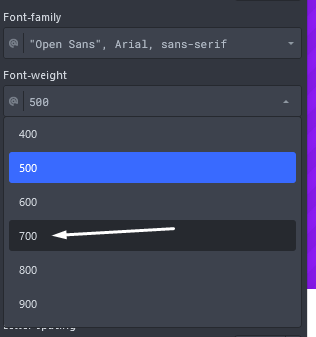
Now, we can see all the titles in these sections have changed to bold:
CSS Hero makes it so easy. You don't need to know any code and it works with any WordPress theme.
CSS Hero is a premium plugin and starts at $29 per year for one site. They also offer a lifetime deal for a huge discount.
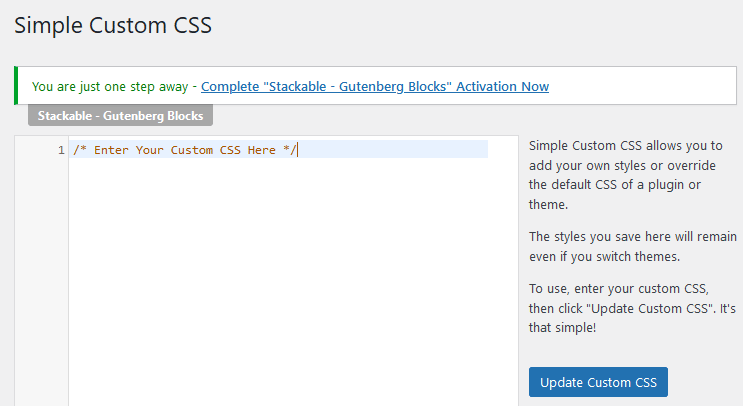
Simple Custom CSS: More Advanced Method
Simple Custom CSS is very different from CSS Hero because you simply add CSS to an empty editor.
It works the same as the default WordPress editor in the theme options but adds the editor to the WordPress admin instead.
But, to edit CSS in WordPress, you don't change the code; you override it.
Let me explain.
Editing the CSS code of your theme will change the style, but it'll revert back when the theme gets updated.
So editing CSS is simply overriding it with a plugin or other method.
For instance, let's edit the style of font on this blog page:

First, hover over the text and right-click. Then click on Inspect:
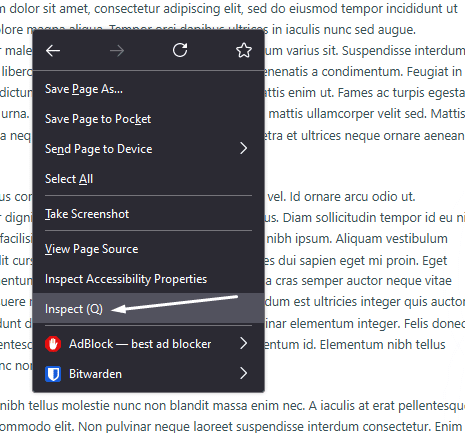
A dialog box will appear showing the HTML and CSS code:
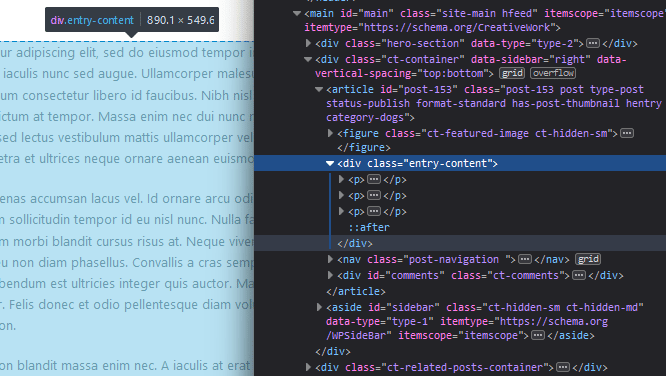
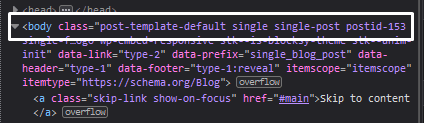
What we need to do is identify the CSS class that defines this body of text. The image above shows that the text is wrapped around a div with a class of entry-content.
To get more specific, we can also define the class by the page. The body tag has a few classes we can use to target this piece of text:
Let's make the font bigger and increase the line height. Here's what the final code will look like:
.single-post .entry-content {
  font-size: 19px;
  line-height: 2em;
}
The single-post class is from the body tag, and the entry-content is from the div wrapping the text.
Then, the text in between the brackets is what changes the style of the font.
Adding this to the Simple Custom CSS plugin and saving it will edit the font on the front end.

SiteOrigin CSS: Easy to Learn

SiteOrigin is another plugin that's similar to CSS Hero, and it has a free version.
This slightly less intuitive point-and-click CSS editor still has impressive features and is beginner friendly.
Say you want to hide this image in the hero section of this page:

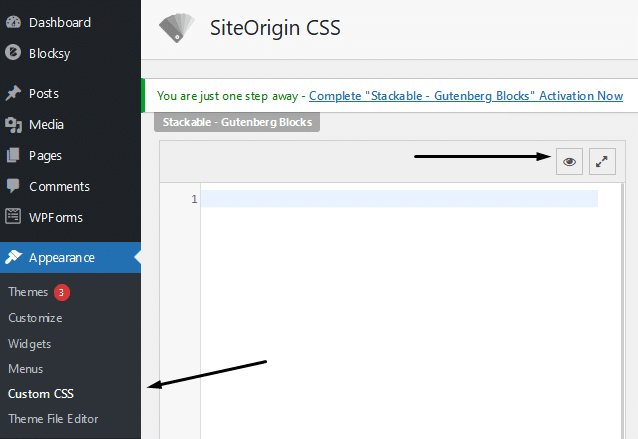
Navigate to the SiteOrigin admin screen by clicking Custom CSS and then click the eye icon:
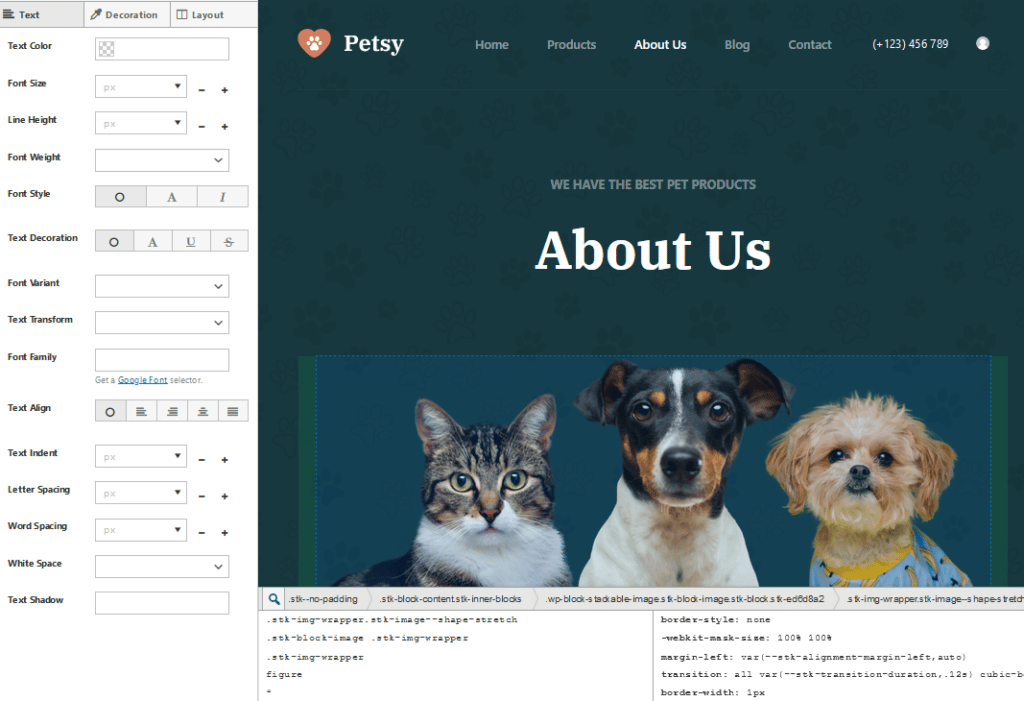
You'll see a screen similar to what you get in CSS Hero, where you can point and click on elements you need to edit:
To hide this image, all I need to do is click on the Layout tab in the settings panel:
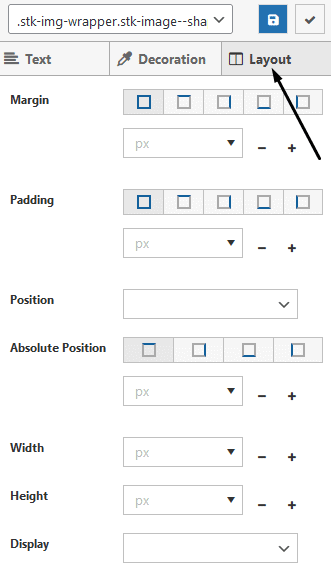
Then, select None from the Display drop-down:
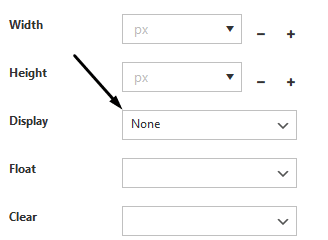
And the image disappears:

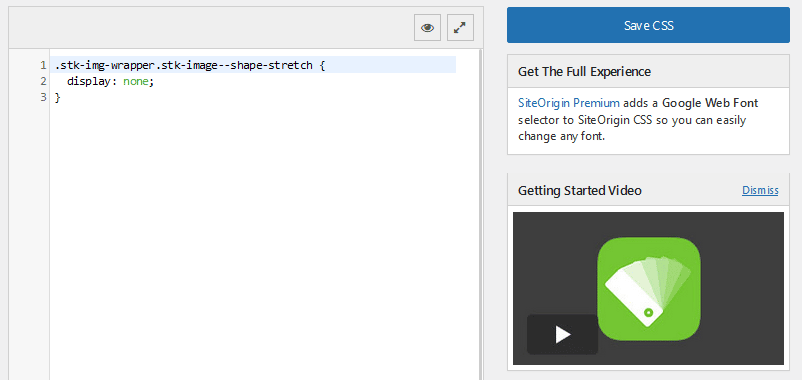
What I like about this plugin is that after you save your changes, it adds the CSS to the editor in the admin:
If you want to edit CSS in WordPress without needing to look for the code, SiteOrigin is a great option.
It has a lot of available features in the free version, and the premium starts at only $29.
How to Edit CSS in WordPress Using the Theme Customizer: Standard Method
This method is one of the more common ways to edit CSS in WordPress. You don't need any plugins because you use the built-in CSS editor from the customizer screen:
Like the Simple Custom CSS plugin, you'll need some knowledge of CSS and where to find the CSS classes you need to edit.
All you need to do is use the inspector tool in the browser you're using. Hover over the element you want to change and note down its CSS class:
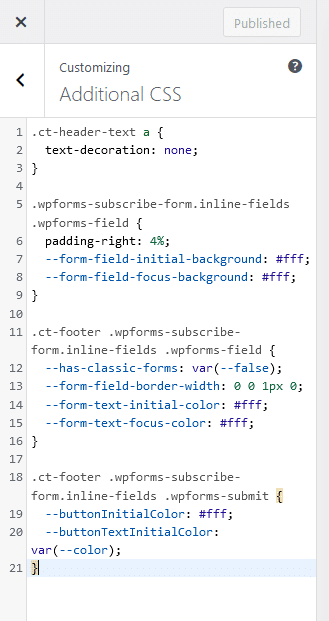
Then, add the code to the Additional CSS editor in the WordPress customizer.
Here's what I would add if I wanted to make the logo a bit bigger:
How to Edit CSS in WordPress Using a Child Theme: Most Optimal Method
This method is almost the same as the previous one. Instead of adding the CSS code to the theme customizer, we add it to a child theme stylesheet.
A CSS stylesheet is a file where all the custom styles of the site are added.
It's an effective way to keep things organized as it keeps all the CSS code separate from the rest of the site.
To use this method, you first need to add a child theme. If you start editing the CSS in the parent theme, everything will be erased when the theme is updated.
Luckily, you can easily add a child theme using a free plugin.
Install and activate Child Theme Configurator, then navigate to Tools > Child Themes.
From the options screen, select CREATE a new Child Theme and choose the theme you're using from the drop-down and click Analyze:
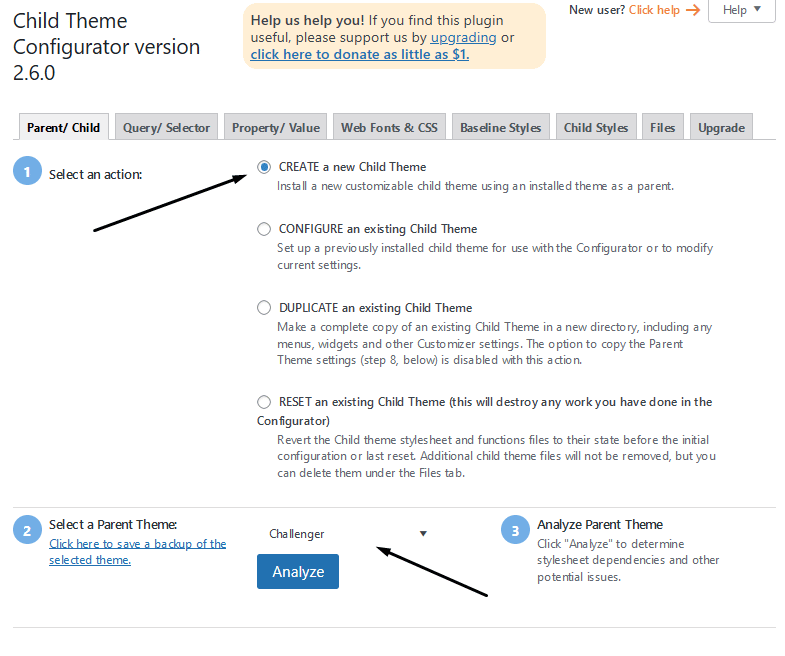
Keep all the settings as default and click on Create New Child Theme.
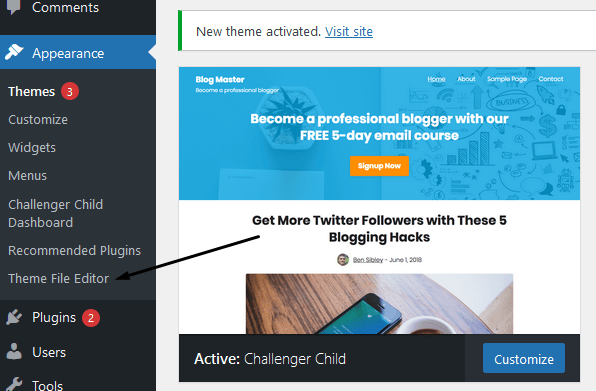
Now go to your themes and Activate the new child theme:

Now go to the Theme Editor page:
This is the page where you'll add any custom CSS you need to override.
Make sure you have the correct theme selected from the drop-down and the Stylesheet (style.css) is selected. You'll add your custom code inside the box:
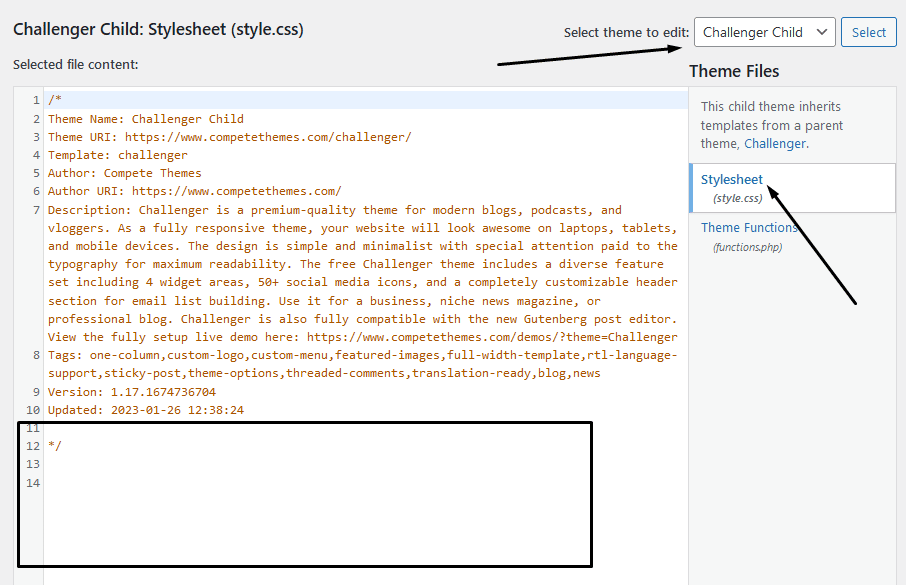
After you've added some code, hit the Update File button and your changes will be reflected on the front end.
What is CSS?
CSS stands for Cascading Style Sheet and is used to tell HTML elements how to style the page.
Without CSS, web pages would only consist of the page's contents with very few design elements.
CSS is capable of styling pages in endless ways. These include the positioning of elements, background colors, page and image widths, font styles and sizes, and much more.
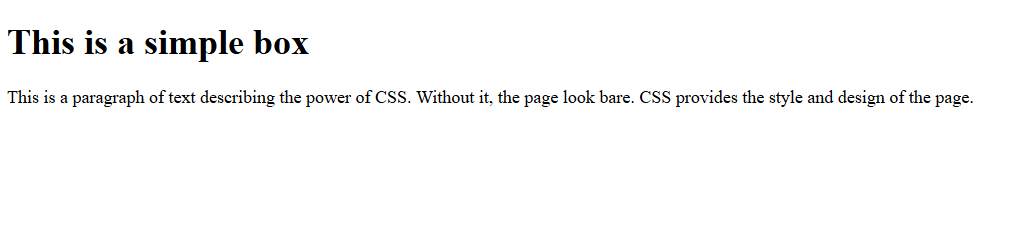
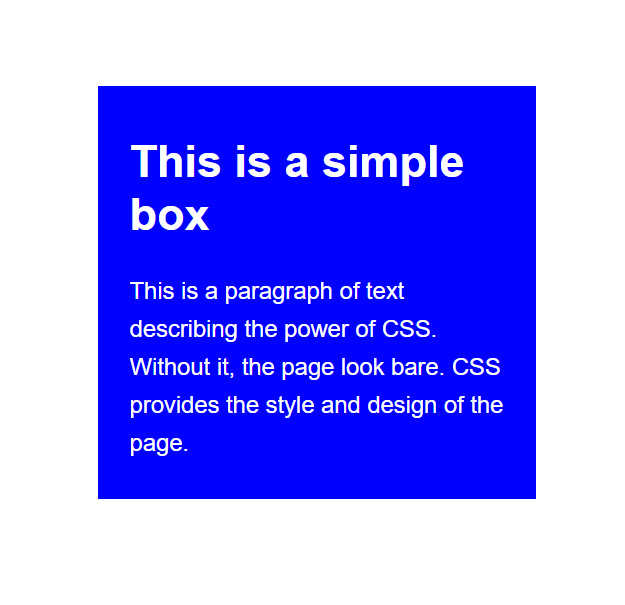
To illustrate the power of CSS, here is an HTML element with some text in it:
<div class="box">
<h1>This is a simple box</h1>
<p>This is a paragraph of text describing the power of CSS. Without it, the page looks bare. CSS provides the style and design of the page.</p>
</div>
If you add this code to a notepad and save it as index.html, here's what it looks like in a web browser:
To style it with CSS, we can add this piece of code to the top of the index.html file:
<style>
.box {
   background-color: blue;
   width: 300px;
   height: 300px;
   padding: 15px 25px;
   margin: 100px auto;
   color: white;
   font-family: Arial,Helvetica,sans-serif;
}
.box h1{
   font-weight: bold;
   font-size: 36px;
}
.box p{
   font-size: 19px;
   line-height: 1.6;
}
</style>
Then, refreshing the page completely transforms the way the HTML element is displayed:
Where to Learn CSS
If you want to learn more about CSS, check out this article on how to edit code in WordPress, and here are a few other resources you might be interested in.
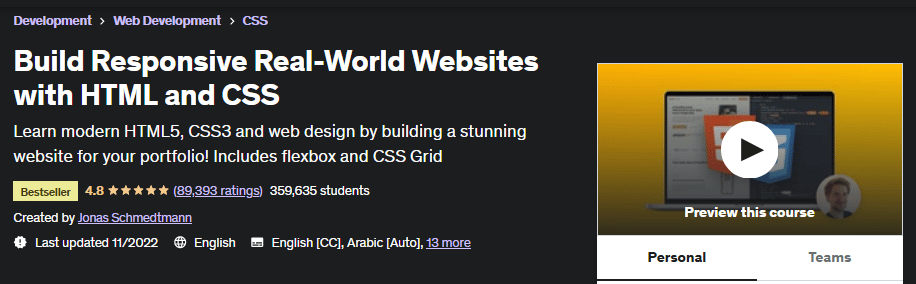
Build Responsive Real-World Websites with HTML and CSS
Want to become a web developer and design websites like a pro?
This course on Udemy is a great place to go from a complete novice to an advanced CSS and HTML coder.
It's a bestselling course on the topic with a 4.8-star rating and has over 350,000 enrolled students.
Code Academy

This is a completely free course provided by Code Academy. It's best suited for beginners and has 10 hours of written lessons.
The learning interface also provides a document within the browser so you can write code as you're learning.
YouTube
There are hundreds of channels dedicated to learning CSS and HTML.
My favorite picks include:
I like learning from tutorials on YouTube because you can follow along as they create entire websites from scratch.
Conclusion: How to Edit CSS in WordPress
That concludes this article and exactly how to edit CSS in WordPress.
The different methods include using a plugin called CSS Hero, which is perfect for beginners or using the theme customizer, or setting up a child theme.
Depending on your level of CSS knowledge will depend on which method feels right for you.
Good luck!
The post 3 Simple Ways to Edit CSS in WordPress without Breaking Your Design appeared first on Niche Pursuits.